One project that I recently needed to complete on the layout was painting the backdrop before finishing building the rest of my benchwork. I had been putting off this task for a while, since I had reservations on how realistic I could paint clouds. I had originally thought about just purchasing a photo background mural but the cost can be quite expensive since I needed to cover lineal feet at 24” high. Anyway, I found my local hobby shop carried some cloud masks made by New London Industries. There were 5 different cloud edge patterns on heavy card stock for about $10.
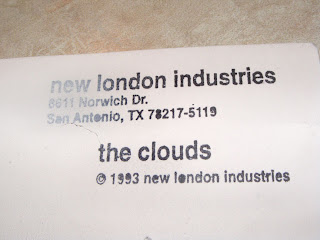
I have also found you can get the same masks on the web through
http://www.modelrailroadinguniversity.com/productstencils.html
I used sheets 2'x 8' x 1/8" MDF (Medium Density Fiberboard) attached to wood frames that hung from the ceiling joists. A 4x8' sheet runs about $6. Nice thing about it is, it bends well (12" curves in the corners), has no grain and is smooth. Then you Spackle the seams between the sheets just like you would drywall, for a seamless background.
I started by painting the background a good sky blue. The color I used was made by Behr available at Home Depot, called Horizon Haze # 540B (flat paint)

Wait until background color has dried before using the masks/stencils.
Next you need to use a flat white spray paint (in rattle can)
Place the mask/stencil on the background where you want the cloud and spray paint the white onto the background.
Next you need to use a flat white spray paint (in rattle can)
Place the mask/stencil on the background where you want the cloud and spray paint the white onto the background.
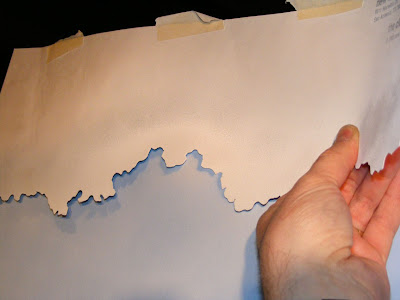
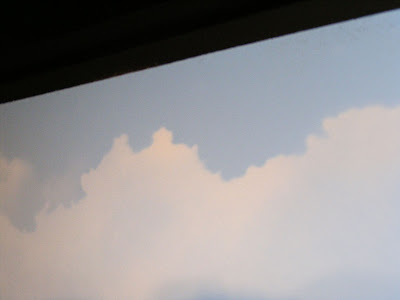
Tip: try to envision a direction the sun would be coming from to highlight the clouds and keep it consistent from cloud to cloud. I kept the highlight to the right side of my cloud edges. It is also better to spray lighter coats that heavier ones (you have better control).
As you spray along the edge of the mask/stencil make this the whiter edge and feather the paint down away . This will give the illusion of a darker/ bottom to the cloud. Keep moving your mask/stencil around trying and vary the mask/ stencils used to keep the clouds from looking alike.
As you spray along the edge of the mask/stencil make this the whiter edge and feather the paint down away . This will give the illusion of a darker/ bottom to the cloud. Keep moving your mask/stencil around trying and vary the mask/ stencils used to keep the clouds from looking alike.
Moving the mask/stencil differnent distances away from the background while spraying will give you sharper or softer edges to your clouds.
In a couple of my clouds I used a little bit of light gray primer paint (rattle can) to give even darker shadows in a few of my clouds.
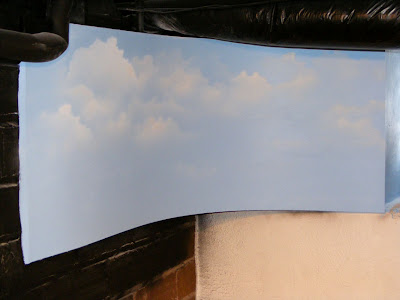
Below is my first attempt
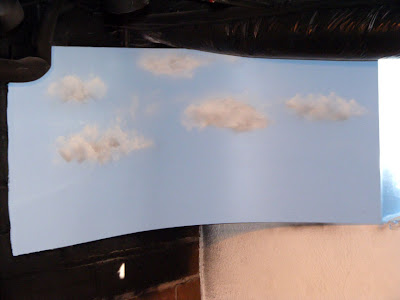
Here are my finished results
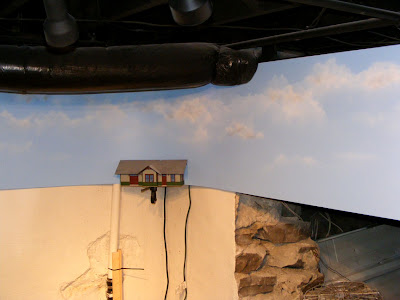
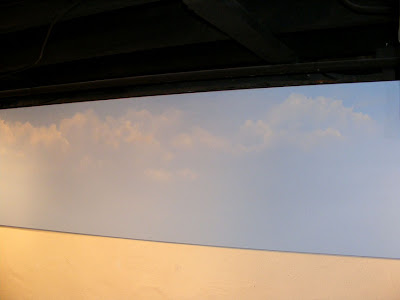
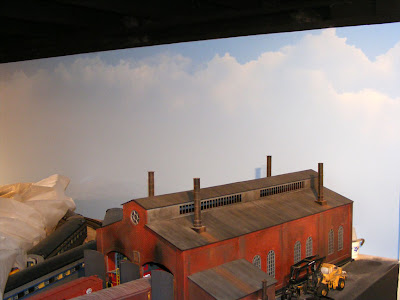 This was a very fun and satisfying project and only took a couple of hours to complete. If a cloud doesn’t turn out the way you like, you can always pull out the blue again and go over them. I did to my first clouds.
Have fun - CSX Al

6 comments:
Very realistic looking background, Al. And very well done "how-to".
Thanks a bunch. I may have to hunt down some of those stencils.
Al,Yet again I'm impressed with your work. Very Nice. I have over 30' Of wall to cover and it looks like you just saved me bunches of money,THANKS!! Did you move the stencil around while you srayed? And did you hold the stencile away from the background to feather the edges? Thanks again
al: you always do some great stuff ... those clouds look great! a few questions if i may:
1) based on your recent experience, how far away from the wall should the stencils be held ... i'm sure different distances give different effects
2) i noticed that the model railroad univeristy (?) site sells a special attachment that fixes itself on top of a regular spray paint can for easier control during sprays ... have you used one of these?
thanks again for taking the time to post this. another project every modeler can use!
Thank you guys. gizzmo, I did place the stencil right on the background to give a defined edge and also moved it away a bit to soften the edges, so there is a combination of both in my background. Regarding the spray can attachment I didn't use one, I feel comfortable with just the spray can.
Al, great results and very informative detailed process.
I may give it a try, thanks
Interesting article as for me. I'd like to read a bit more concerning that theme. Thank you for sharing that information.
Sexy Lady
Female escort
Post a Comment