Creating realistic shipping cases is an easy one-day scenery project that can be done by any modeler, regardless of their skill. These shipping cases can be used just about anywhere on a layout from inside a box car, on a freight platform, to interior detail for any storefront or industrial warehouse. To create a shipping case, you will need to make an outer “skin” [or use the linked template below], and wrap and glue this to a rigid block to form the case. The only time consuming aspect of this project is creating the case skin. If you are used to working with your graphics software program, or if you want to create a different sized case, the instructions to create a skin are below. Or you can choose to use the skin template I’ve created, and skip down to making the case.
On the box size, I went with a scale 18” x 18” x 24” long case. I chose this size because it is a fairly standard size, and by having the width and height the same dimension it will make it easier to make the block that you’ll be wrapping the skin around. You can go with different dimensions… it will just create a little extra work. An 18” x 18” x 24” long case scales out to 3/8” x 3/8” x ½” at 1:48 scale.
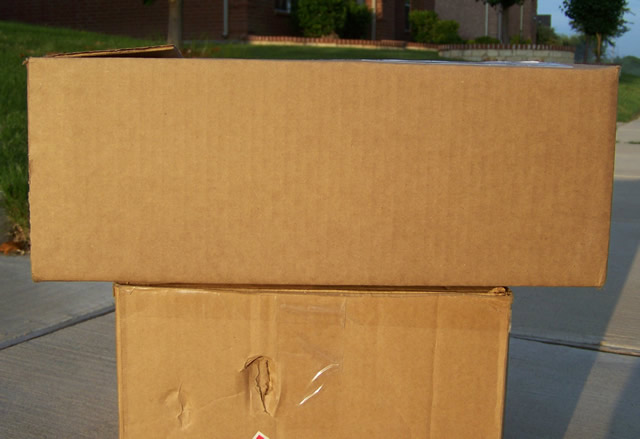
Getting the color right to mimic the color of corrugated cardboard can be tough by using just colored paper or selecting a color from the available palette in a graphics software package. Corrugated cardboard has a lot of subtle hues, and shipping cases are rarely ever pristine without any sealing tape or shipping rubs and damage. For this project, I wanted the cases to look as realistic as possible, so I took digital photographs of a couple of cases I had that had been previously shipped. I picked a case that was fairly clean, and one that had some shipping damage. This will give you some variation in your case skins. Make sure that when you take your digital images that you have plenty of lighting, or your images will be too dark when they get scaled down. Take pictures of both the end and side of your case(s). This will ensure that you get the proper views so that the shipping tape will look correct. Make sure when taking the pictures that you hold your camera straight on and parallel to the case, and back about 36”to 48”. This will help eliminate any foreshortening of the case height / width / length, and will make it easier when cropping your images.
Using a graphics software program, crop your digital images for both the end and side view. It doesn’t have to be perfect, just make sure that your cropping selection is just inside the outer case edges so that you don’t pick up any pixels that feather the case edge with the photo background. Next you will need to create a new graphics file, and size it to about 8” x 10”, so that it will completely print on a single sheet of paper. If your software allows you to set your image resolution, pick a resolution that will allow for easier math. In my case, I went with 150 pixels to the inch, but should have went with 160 pixels to the inch to make these easier. I chose this resolution because 3/8” equals to 56 pixels, and ½” equals 76 pixels; or 60 pixels and 80 pixels at 160 pixels/inch. Do a copy and paste of your two cropped case views into your master graphics file. Next, you will want to resize the cropped image of your case end to match your desired scale size, which in my case was 56 pixels x 56 pixels. Do the same thing for the side view. Again, for the size and resolution I picked, it was 56 pixels tall x 76 pixels long. At 160 pixels per inch, it would be 60 x 60 pixels and 60 x 80 pixels.
Next, you will need to create your flat pattern for your case. Copy as necessary the images, and place them with an end view on each side of the side view. Copy the side view and place it against one of the ends so that you end up with a back side, end, front side, and then end. You will need to make some flaps to wrap around the bottom of your forming block, so take your end and side images, copy them, and crop them down to a narrower height. 20 pixels works well for these bottom flaps. You don’t want the bottom of the case to be fully wrapped with your skin so that you will have a good surface to glue your case to whatever surface you’ll be placing it on. When cropping for the bottom flaps, remove the upper portion of the image because the colors of the cardboard will only match on the common side. Next, you will need to flip or mirror your flap pieces before placing against the bottom of the ends and sides. Again, this is needed to make sure that you are creating a mirrored flap for each end and side so that the colors match perfectly. For the top flaps, you will need to once again copy your end and sides, and then flip or mirror them around. On the top flaps, use the full height of your end and side images. This will allow you to have proper flap widths if the case is to be made with the flaps open, or will give you full top coverage if you make the case with the flaps closed. Place these images up against the corresponding ends and sides. Lastly, you will need to make one more narrow flap that will be placed against the outer end side, by using the same techniques described above. This flap will be your initial flap that you will glue to your forming block when wrapping and gluing the sides and ends around your block. If you don’t have this flap, you will end up with one side/end corner that your paper edges may or may not line up perfectly. By having this flap, and wrapping the back side of the case over it when gluing, you won’t have to deal with not having enough “skin” to hide any mismatches.
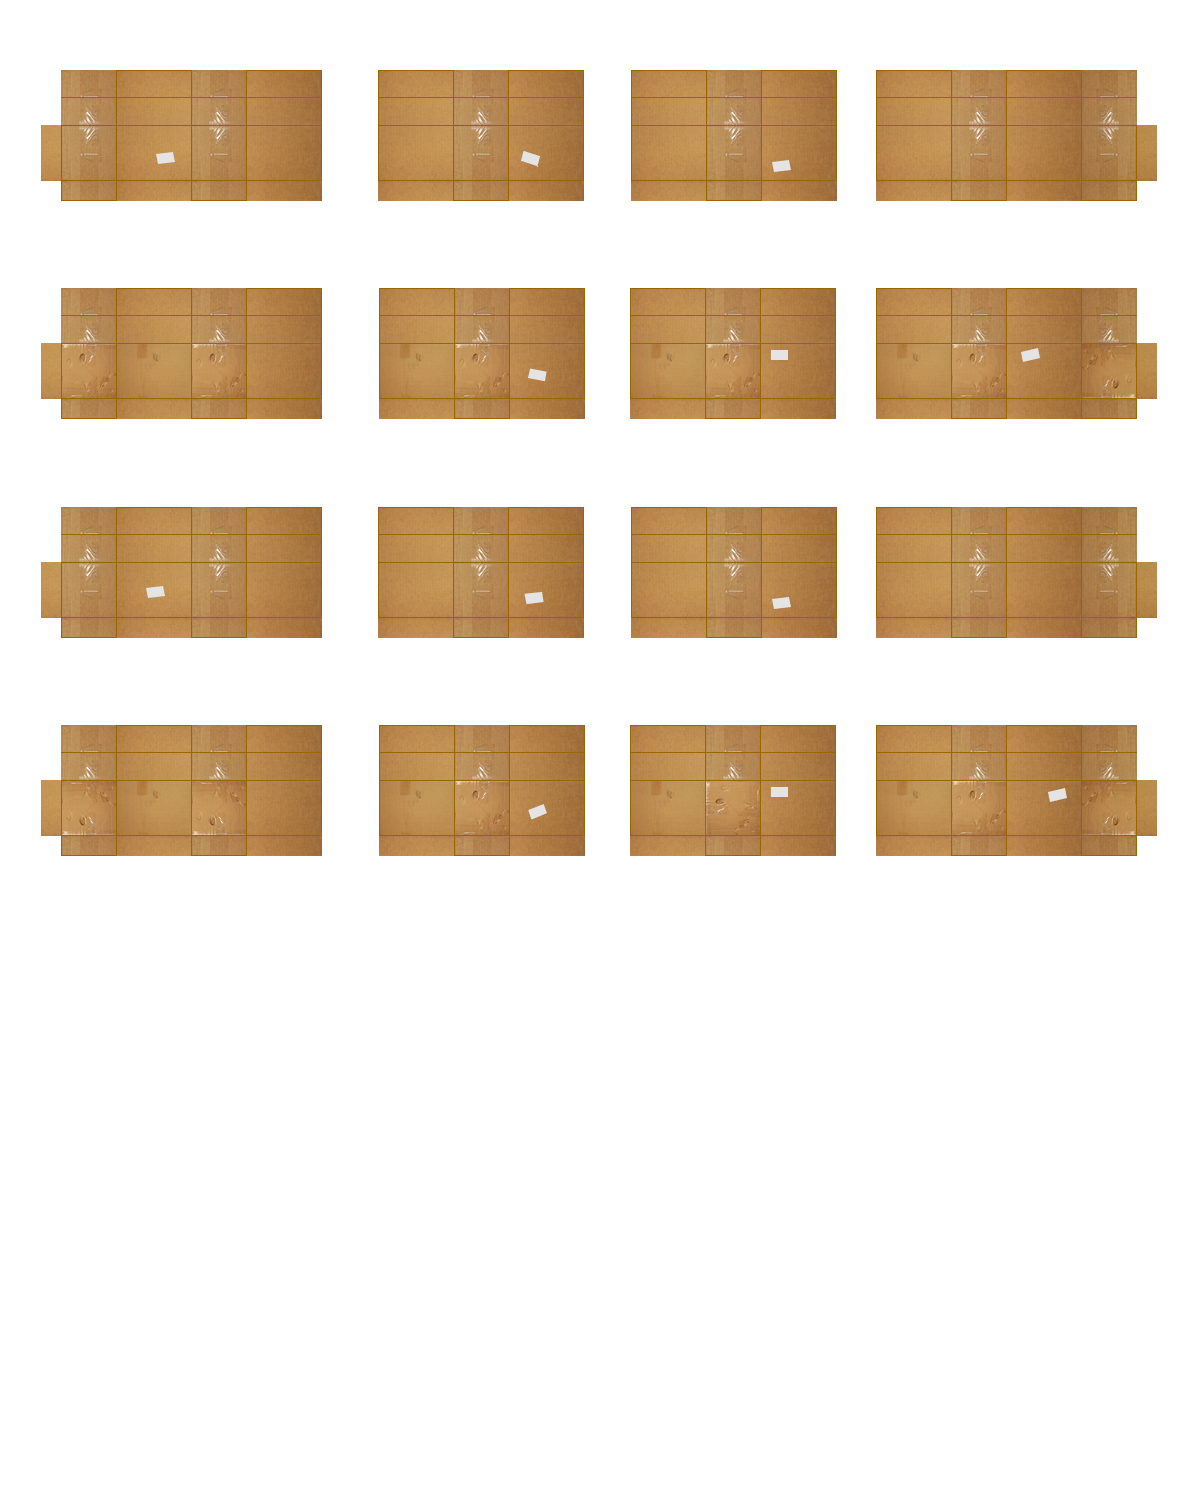
For the next step, you will need to create some folding and cut lines for your skin pattern. Draw either lines or rectangles that match up with the sizes of your ends/sides/flaps. Your lines and rectangles need to be 1 pixel thick. Choose a light to medium brown for the line and rectangle color. You want a brown that is just dark enough to see when printed out. Look at the image below to get an idea of what you are trying to achieve with these lines. On cases where you decide to go with a closed look, the brown line in the middle of the top flap attached to a side will end up looking like a closed flap seam.
At this point, you will have your base skin template done. If your graphics program supports grouping objects, select all of your images, lines, and rectangles; and then group them into one block. Do a copy, and then paste the single case template multiple times on page. If you paste your copied block directly over the original image, and then use your arrow key to move the block either up or down, you will keep the blocks inline in both columns and rows. This will make cutting them out easier, as you will be able to trim across multiple blocks at one time. For my use, I copied the blocks to give me sixteen (16) skin templates per sheet. If you are creating two different looking shipping cases… clean and with shipping damage like I did… you would create the second skin template exactly like the first one.
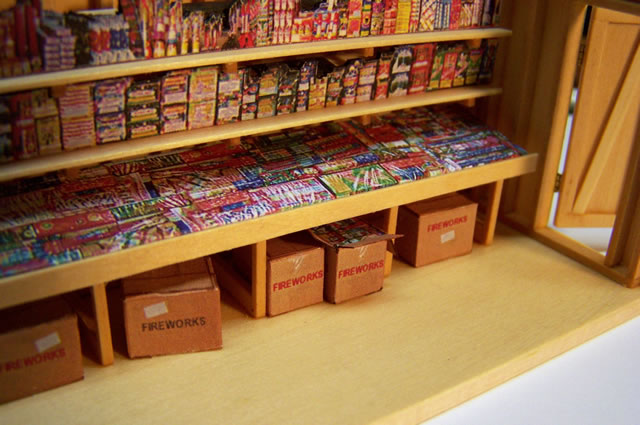
Now you are ready to add any custom features to your skin templates. For my use, I added the text “FIREWORKS” to various box sides in both different locations and in two different colors. I also added a small rectangle to look like a shipping label on some of the case skins. Go with a light grey color for your rectangle fill. Pure white would look too contrasting and would stand out too much on your final product. Make sure that you place these shipping labels in random locations, and rotate them differently to give some randomness to your finished cases.
With your page of case skins done, print it out. I used regular copier paper and an ink jet printer. Next, spray your printed sheet with a flat finish like Krylon Matte Finish to seal the paper.
Below is a link to a skin template that you can use. The cases are generic, and you can add whatever text or graphics to the individual cases to meet your needs prior to printing. This file is a vector based .PNG. If you are using a graphics program like Fireworks from Macromedia, this template will be fully editable. For other programs, you should still be able to edit the file images, at least be able to add your own text or graphics. On this template, you will see that some of the skins are set up for just three box sides. When I created this template, I knew I had some cases that I wouldn’t have an end that showed, so I didn’t add this end on. In hindsight, I didn’t need to do this because you can, and will, cut out the portions of the skin that you don’t need.
Link to Case Template File
Now we are ready to make some shipping cases!
Because of the case size I picked, I took some 3/8” square dowel, and cut it into 1/2" long pieces. This will make the block that you will wrap the skin around. Take care when cutting your dowel to make sure the cut ends are square. Otherwise, this will cause the skin to not wrap properly around the block. Next, use an X-Acto knife and carefully cut out one of your case skins. Keep in mind that the template has everything needed to make either a full four-sided case with open top flaps, a full case with interlocked top flaps, or a sealed top case. If you are putting together a sealed case, you don’t need all of the flaps… but, make sure that you keep enough of the unused flaps to have a surface that you can glue the case top over to prevent your wood block underneath from showing. When cutting the skin out, don’t forget to also make the cuts at the edges of the flaps, just don’t cut where you will be folding the paper. I found that it was easier and faster to cut the skin out by making all of the vertical or horizontal cuts at one time, and then going back and making the opposite direction cuts at one time.
If you are making an open top flap case, and you are not going to glue a product image on top of the case that will be showing, you should now paint the top of the wood dowel either a flat back or flat dark grey, and let it dry. Otherwise, you will see the raw wood dowel behind your open flaps when finished.
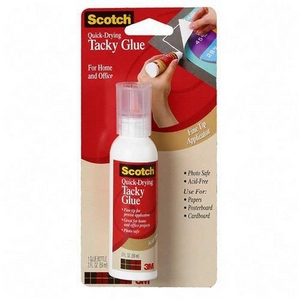
With the skin cut out, you will then need to pre-fold your skin using the 1-pixel brown lines as your folding guides. If you are making a case with open or interlocked top flaps, you will now need to glue the folded over paper for each top flap. I used a fast drying craft glue by Scotch called “Tacky Glue”. This glue is like a white glue, excepts it dries in about 30 seconds when working with paper. It does dry clear, like a white glue.
At this point, you should take a brown pigment ink pen and color over all of the exposed paper edges. A magic marker will work, but if it is water based, the ink will run and bleed. Using a pigment ink pen will reduce the bleeding quite a bit. You need to do this step because the white raw edges of the paper will stand out like a sore thumb, and give away that this is just folded paper. Also, if you don’t do this step now, it will be much harder to control the edge bleeding after the skin has been wrapped and glued onto the wood dowel.
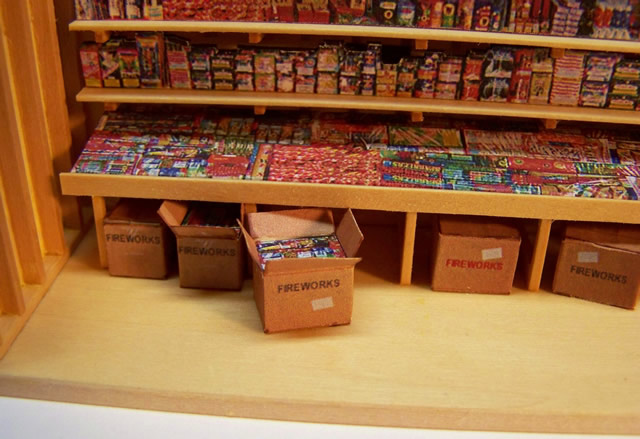
Now you are ready to begin gluing the skin onto your cut wood dowel. Start with the narrow side flap off your end or side panel. Apply a thin layer of glue and glue / wrap your skin around the outside of your dowel, working one side at a time. With the sides completed, you should now glue down all of the narrow bottom flaps to the underside of the wood dowel. If you are making a sealed top case, glue over the narrow top flaps and then your full top flap over those, and you are done. If you are making an interlocked top case, fold your flaps over and interlock as you would a real 1:1 shipping case. If you are making an open top flap case and will be showing some case contents, you will cut and glue this image on top of your wood dowel. On the cases I made, I wanted the open cases to appear like they were full of fireworks, so a glued a 3/8” x 1/2” image of fireworks on top of the dowel. The end result looks pretty realistic.
Once you start putting the shipping cases together, you will find that it goes pretty quickly, especially if you use a quick drying white glue. The first case may take up to 10 minutes to put together, but multiples can easily be done at a rate of one every five minutes.
2 comments:
Great Stuff! Thanks Todd
Hey Todd, I LOVE the lawn chair. There'll be a couple of them on the Choo Choo Barn layout next year. Thanks for the idea and the tips.
Post a Comment