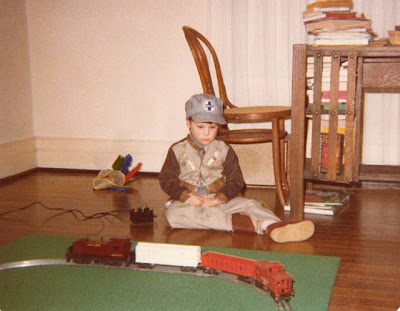
Growing up with trains, it was only natural for me to daydream about having certain features on my layout one day. Above, you will see me running my Marx switcher in the midst of just such thoughts! Tunnels, bridges, and operating signals were always towards the top of my list. But there was one thing I always wanted, and that was a railroad crossing! As a kid, it was the flashing lights and the movement of the guard arm that fascinated me ... after all, more often than not, it was at a crossing that i got to witness the passing of a train. So naturally, I associated the flashing and bells with the 'opening act' of a great show.
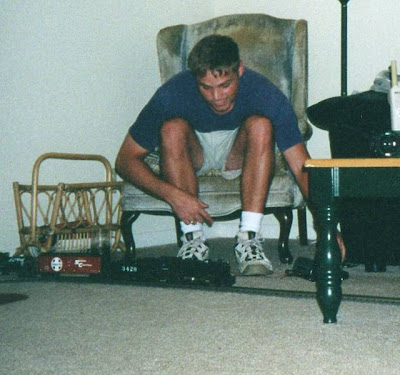
As with many things in life, as I grew older I seemed to lose the passion for all the pomp and circumstance in life. Whether its was the clearer perspective on the need for comfort in silence, being in a world of constant noise all the time (internet, computers, 300 channels!), or just the cynicism of old age, suddenly the 'bells and whistles' I once longed for no longer seemed to ring true. Instead I longed for simpler, spartan times ... a post and two boards would certainly do. And so it was with this thought that I decided to tackle the unique approach a rural crossing would offer to a modeler just starting out on learning the art of scenery work.

I have no layout at the time as apartment living precludes anything more than an occasional oval on the carpet. Therefore I work on what I call shelves: 40" sections of shelving that I hope to once again return to the walls of my den. I have had the same shelf sections for the past three apartment layouts, and they have seen action twice on around the room shelving. All curves are O-72, and the combination of the wide radius and long straights has a pleasing effect. Below is a video of the same layout back in New Orleans in my college apartment.
Each section is made from 3/4" plywood as their base and then two sections of matching 3/4" blue foam. the foam is then carved to match the base and topography for the intended scene. For this project I took one of the pre-existing sections and removed a piece from the middle with a long bladed hack saw. I then fashioned a section composed completely of blue foam (3 sections to equal the height of the original section) which was then shaped to fit into the unoccupied space. It was easier to shape the grade of the road before attaching it permanently, and you can see the work on the intersecting section.
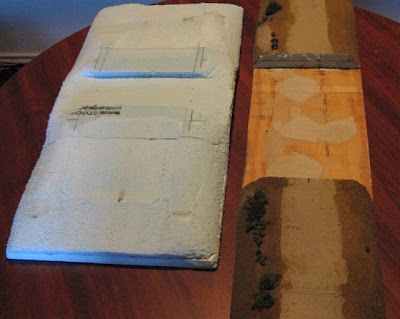
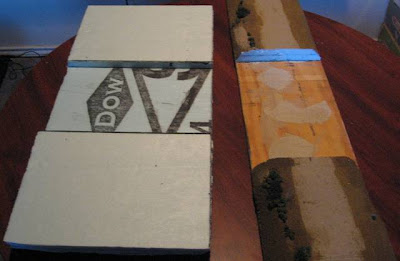
After the section was glued into place, plaster of paris was mixed and used to patch up the gaps between the newly mated sections. Cardboard strips were measured and then cut to match the grade of the road on either side and between the rails. By folding the ends, I was able to get the height just right. Remember these two tips: 1) make sure that the cardboard sections are not high enough to meet the top of the rails, especially on either side of the third rail. Dirt and gravel layers will eventually add to the height of the road, and the pick up roller will need to run along the center rail flush. 2) The inner part of the wheel is larger in radius than the outer (the lip that keeps the wheels on the rails) ... make sure you leave plenty of room for the wheels to rotate freely through the crossing. Constantly check for clearance throughout this project to avoid unforeseen problems down the line!
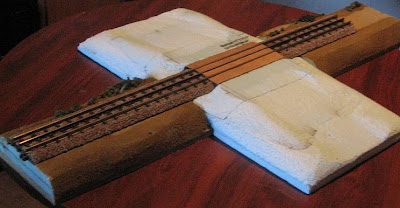
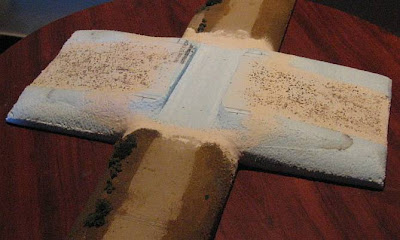
Mixed up another batch of plaster of paris to build a base for the road and the scenery on the sides. Build up layers, making sure the earlier layer is dry. Dont be afraid to make the mix a bit lumpy, adds this will add to a more random look to the surface.
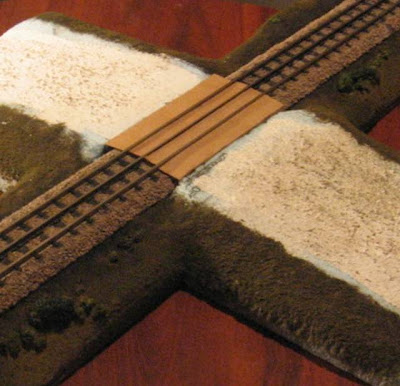
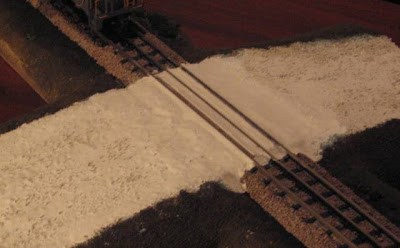
Once all is dry and set, I painted a few washes of brown, red, and white paint. I began to add layers of dirt and fine buff gravel. Take care in mixing the two as the color combination in important as a realistic base before adding the gravel. Growing up in Alabama, I wanted to emulate the 'red clay' that seemed to be everywhere and always on my shoes and shorts. Keep your eyes open on drives around your neck of the woods and see what colors will work best for the scene you want to model.
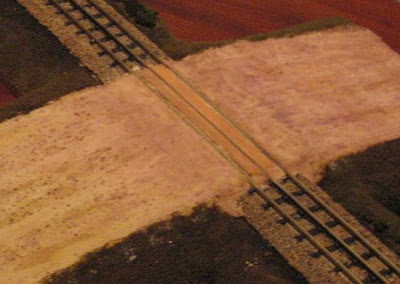
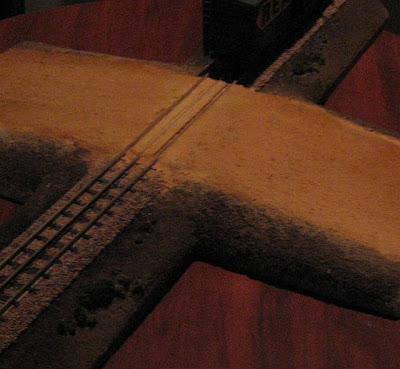
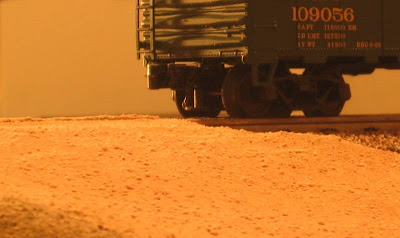
Larger pieces of gravel, close in size to the ballast used for the track was added to the areas on the road that would see the least wear ... on the edges and down the centerline. This is a two lane road, and I was worried a bit that it looked like a single lane with the larger gravel in the middle, but pictures of gravel roads with traffic going in either direction show this type of wear ... as you will see in after more layers, it stands out less.
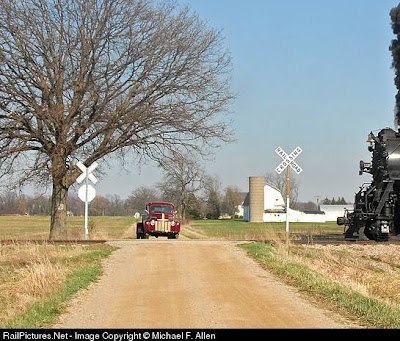
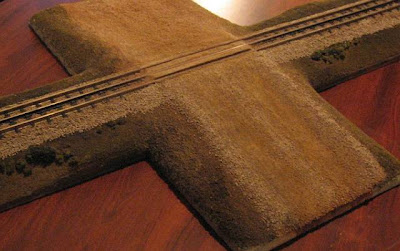
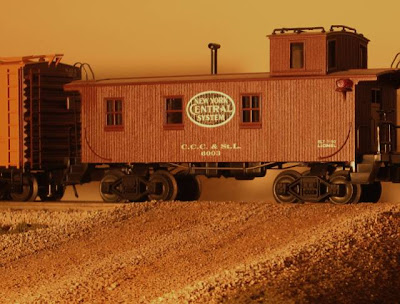
A nice mix of both dirt and fine gravel were then layered on top of one another, taking care to keep the rails clear of obstruction. With each layer, make on the spot decisions and go with your gut ... you can always go over any mistakes with consecutive layers.
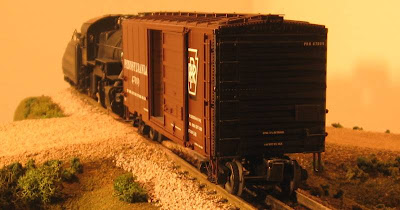
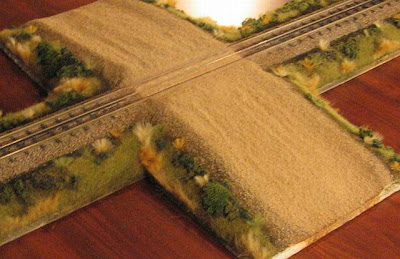
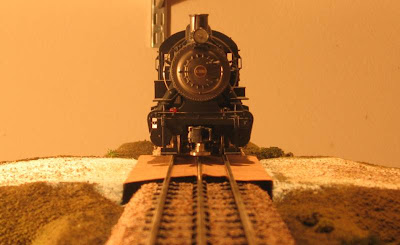
Once I got the look and the height correct, I added bushes, grasses, and other types of ground cover. Here is the finished product.

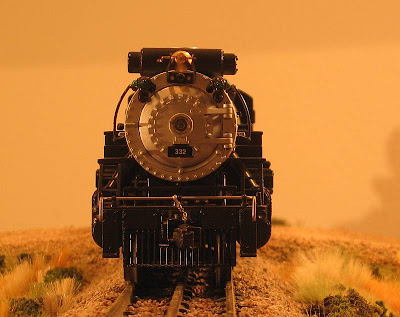

Now before I got some lip about not playing it safe by adding some rural crossbucks to my rural crossing project, check the April Token Build and do your duty and vote! I look forward to sharing more 'builds' here and seeing how other modelers tackle similar projects.
3 comments:
bfishma,
Very nicely thought out post. Great project and great tutorial!
Nice debuet Bfishma! Its a great demonstrtion of how great details really add to a scean. Well done
bfishma
a great job on the crossing!
I also like your pictures, they always seem to have a warm down home quality to them.
You have proved that a large layout isn't necessary to have a railroad.
Keep them coming.
Ray
Post a Comment