
I appreciate your interest in my detailing of the subway portals and based on the number of questions I have received, I decided to put together a tutorial on this project. This is my first attempt in making a tutorial so please bare with me.
The first step is to purchase the paint. The products I chose were found at my local Michaels Craft store, but I'm sure comparable products are available at any craft or art supply store. The colors I chose for my portals were: dark gray, light gray, tan, green, white, and black. While the white and black are needed for added details such as a wash and drybrushing, the colors you choose for your portals are certainly up to your own eye and imagination. I used a foam brush for larger areas, and two artists brushes for details: one small (for mortar joints) and one as wide as the stones in the wall (for dry brushing on the final top coat).

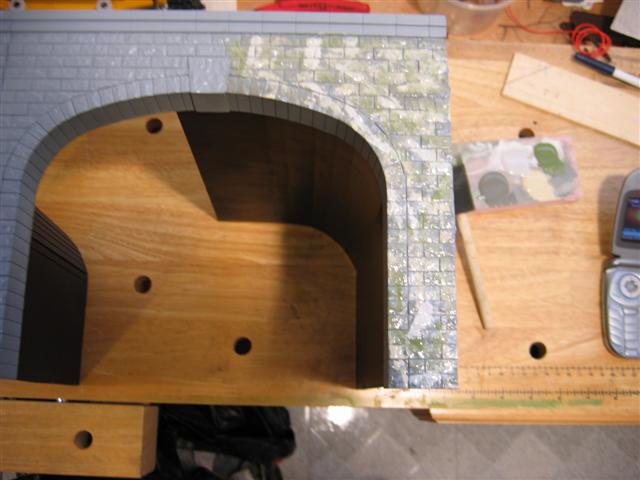
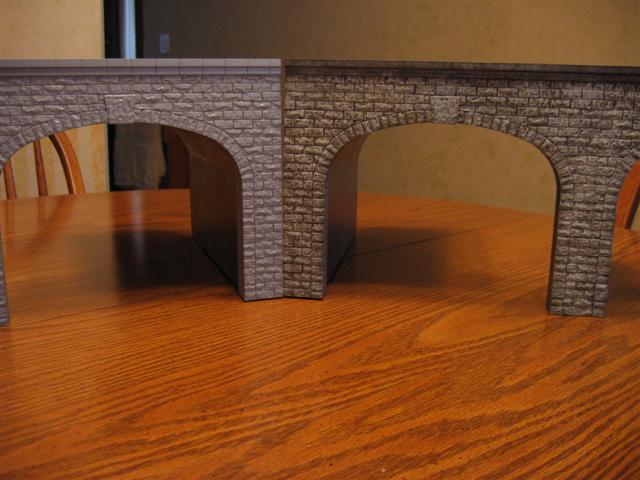
The tunnel portals are MTH and cut and fit together to form one wall with three portals. Once again, any brand of plastic portal can work for this project. I don't know if the same steps can be taken on plaster cast portals as the plaster tends to absorb much more of the paint than the plastic, but perhaps a similar procedure would yield satisfying results.
Originally I was not going to do any detail and spray painted them with Testor's gray primer to take some of the 'shine' off of the plastic casting. If I was to do this again I would probably skip the gray primer spray, however it is entirely possible that the primer paint allowed the details a better surface to adhere to than the slippery plastic alone.
Step 1. Painting the Stones
Squeeze out all four colors onto a scrap piece of cardboard, foam, etc. ; anything handy.

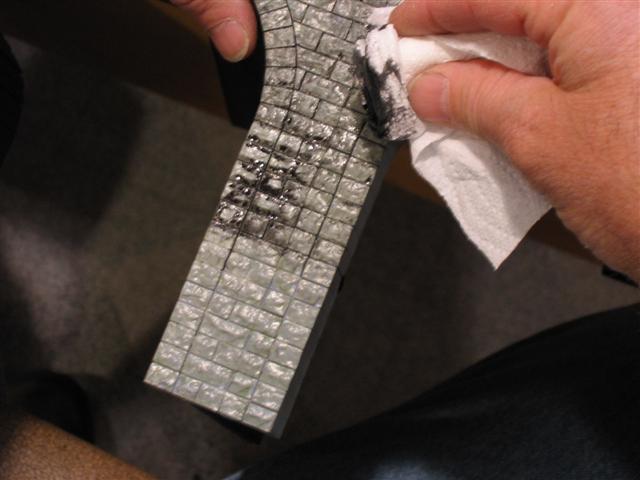
Next using the foam brush dab the brush into one color and dab onto portal wall in a random pattern. Do the same for all four colors. Don't be fussy and overlap.
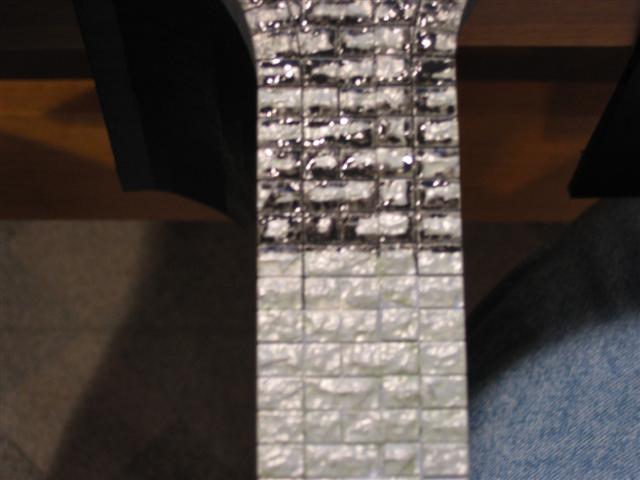
Then using a paper towel, dab the portal wall to blend in the colors. This is what it should look like.
Step 2. Detailing the Joints
First dilute black paint with water, you may want to experiment a bit with this step as different mixtures might work better than others. I used about a 30/70 mix of paint to water to achieve the 'viscosity' that i desired. Keep in mind, the more paint the thicker the mix and less likely it will be to flow easily.
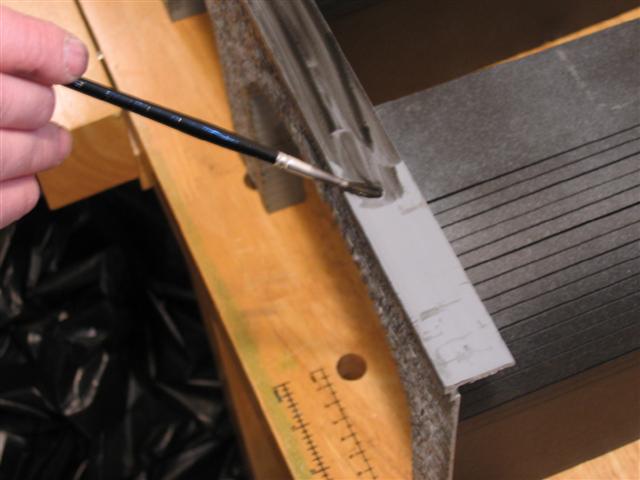
Paint on top of mortar joints with diluted paint mixture using small artists brush. Don't worry about getting paint on stones.
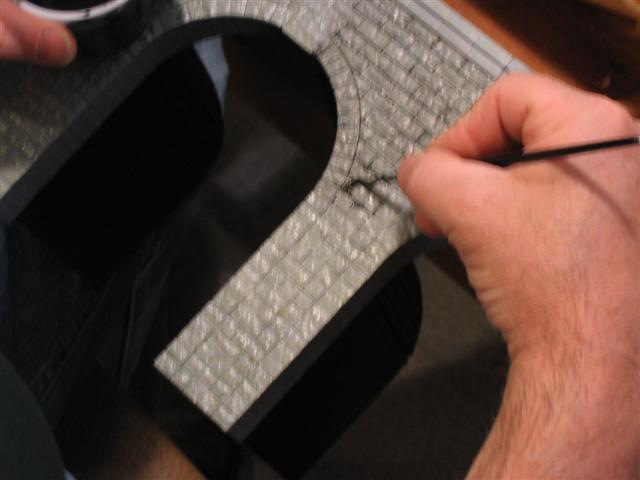
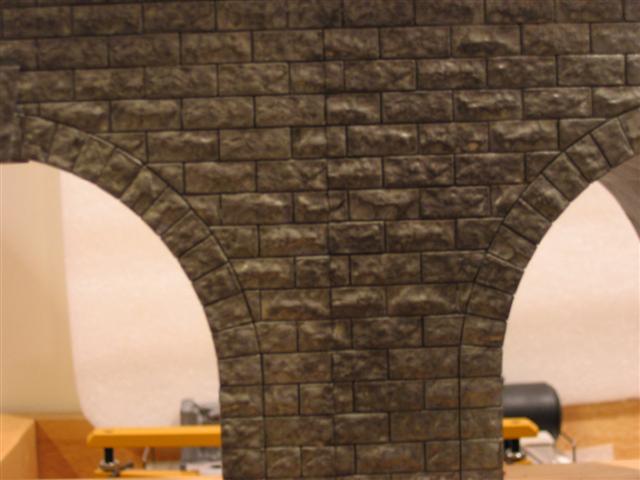
This is what it will look like.
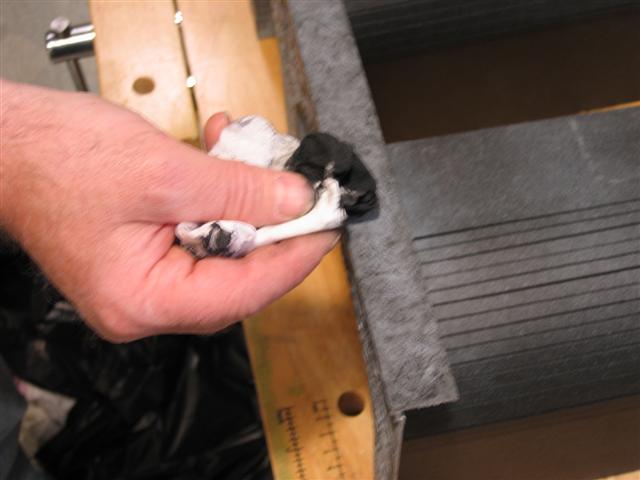
Next gently wipe excess diluted black paint from stones, leaving black paint in mortar joints. If you wipe it out of the mortar joint just reapply more paint and wipe off again.
I left a little hint of black on the stone to add more depth by bringing out the recesses and variation in texture of the rock blocks. This what it looks like after the wiping.
Step 3. Adding Highlights
Squeeze out white and light gray paint onto pallet.

With the larger artists brush, Dip into light gray and wipe off any excess, dab brush on paper towel to remove more paint (dry brushing).
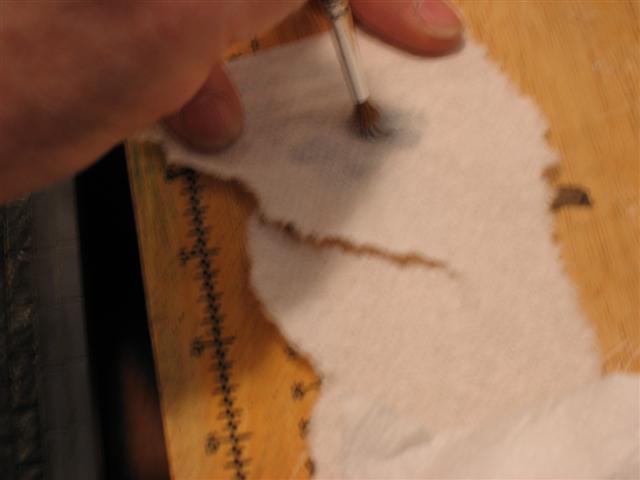
Then apply paint to top of stones using a light touch and random action in you brush strokes. Repeat with both light gray and white until desired affect is achieved. I recommend dry brushing the light gray first, allowing the application of the white dry brushing a chance to really bring out some of the highlights.
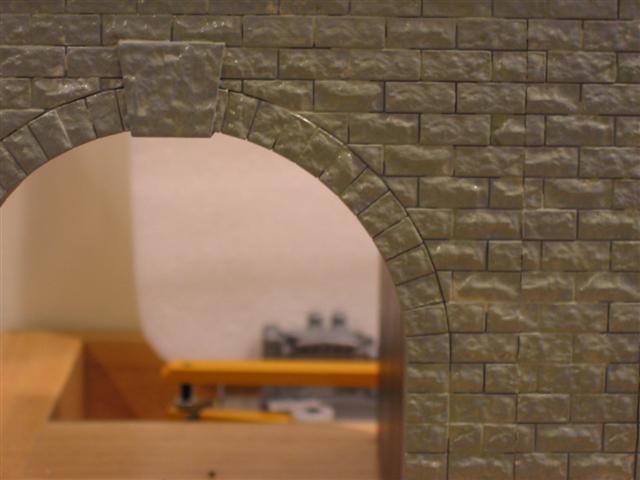
Step 4. Cap Stones
Using the larger of the two artists brushes, smear on a coat of diluted black paint (again a 30/70 combo of paint to water or whatever combination you wish).
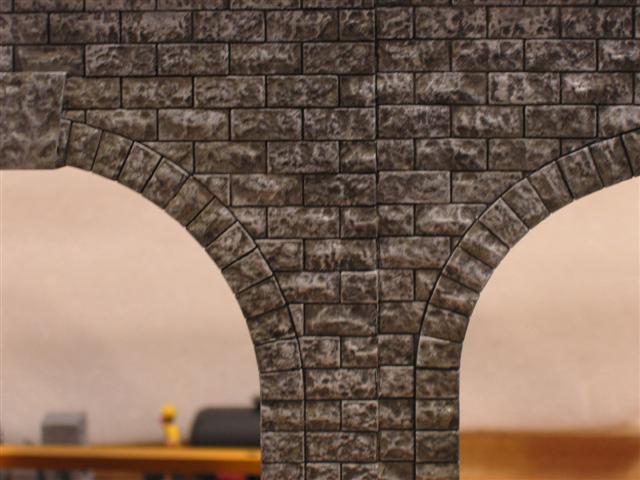
Gently dab off black paint, let dry a few minutes, dab on more diluted black paint with paper towel until desired affect is achieved.
This is what it should look like.

I hope this was an informative post and hope you can use this in some of your detailing work. Different colors could be substituted for different looks. Different color mortar could also be used. This project offers the modeler many different options color wise, which I feel is part of the appeal.
I was a little reluctant in the start to try this this but after the first portal I was glad I did. What a difference it made in the overall look of the portals. I am amazed in how simple some things are. In doing scenery I really don't think you could make a mistake as nature isn't perfect. Thanks again to everyone who expressed an interest in this project and I hope many of you can learn from this tutorial.
5 comments:
Very well done, TMM. Great tutorial and wonderful addition to the blog.
This is a very informative detailed explaination of how to color otherwise plain portals.
It is a great tutorial for the experienced and those who haven't yet given it a try.
Super post!
I am so surprised plastic can be made to look that good !! Excelent job . Thanks for the great write-up & the new addition to my bag of tricks.
WoW excellent tutorial!! I haven't tried your steps yet but I"m going to today. I must say the steps look fairly simple and the results are just fantastic!
Old article, but EXCELLENT how-to. I'll be giving this a shot. THANKS!
Post a Comment