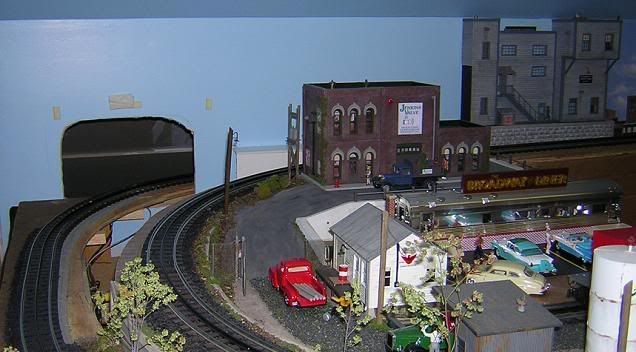
It usually starts with "I have this space, what can I put there?" And so it was in this instance. I had this space which was not only oddly shaped but included a tunnel and a grade. What could I put there?
The answer was nothing that was available. So "back to the drawing" board or for me was to the computer. Having a high powered software program and many years experience it was easy for me to use it as someone would use a sketch pad. First, what footprint was I looking at and what kind of clearances would I need? How could I tie it to the existing Bassette Printing Co?
Guided by those parameters I came up with what I thought would be a suitable structure for that place.
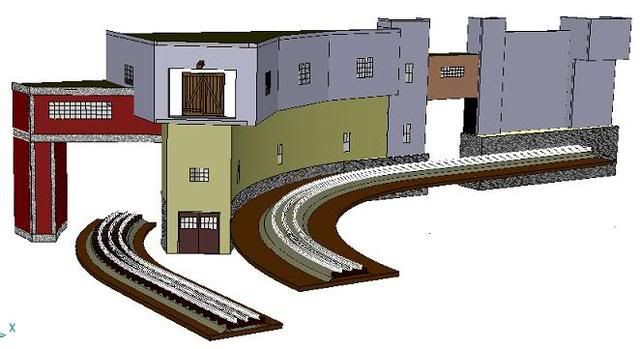
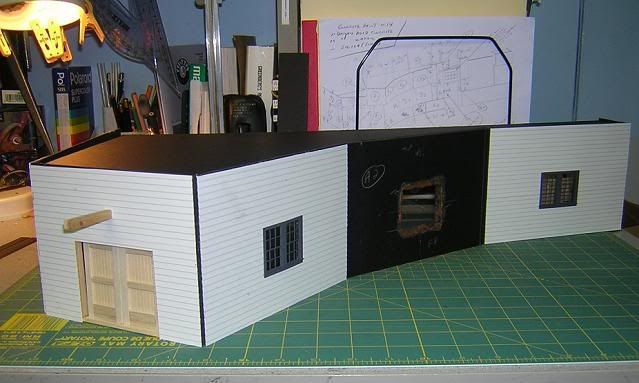
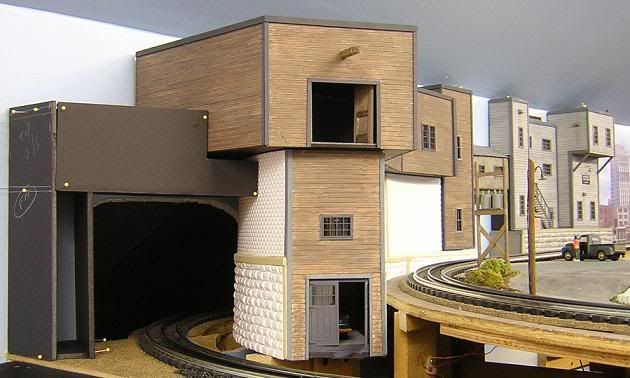
Again using the computer I was able to construct a 3d model of what I wanted and determine the shape and sizes of every piece to be used. I transfered these sizes to black foamcore board and started the build.
I wanted the garage doors to be moveable so discarded the frame they came with and built my own with operating hinges.
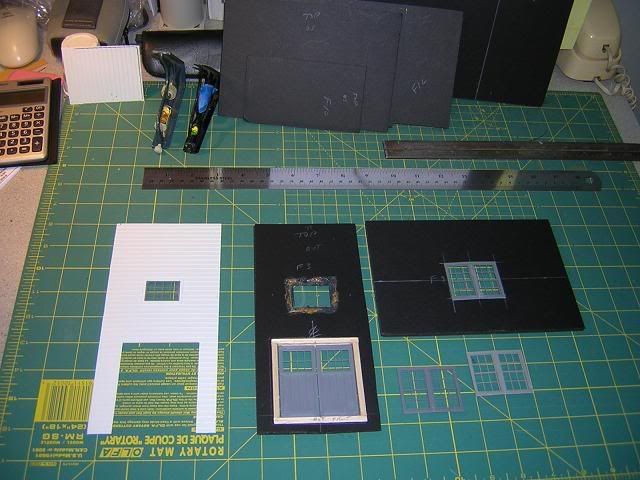
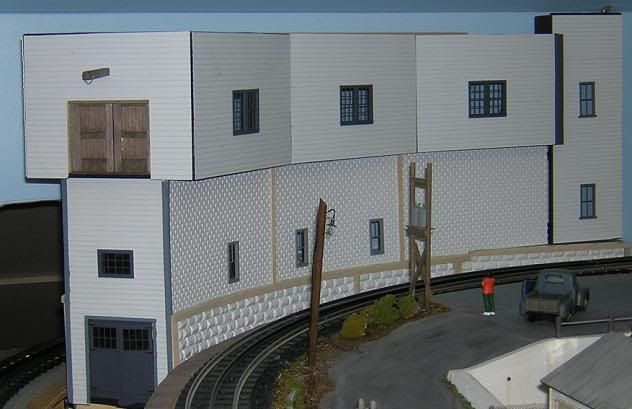
For this build I used a combination of Precision Products veneer plastic sheets, siding, cement blocks and stone. The 2nd floor doors were built from scratch and again hinged.
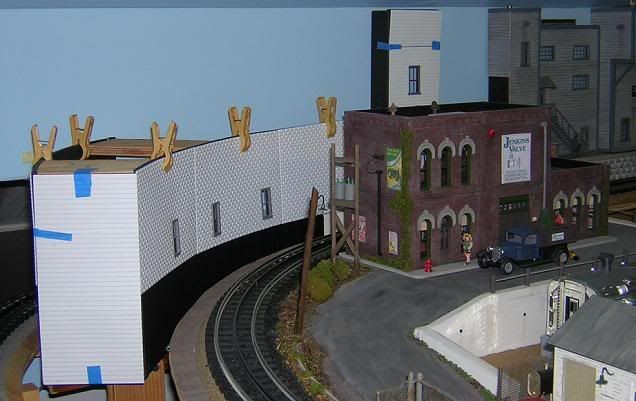
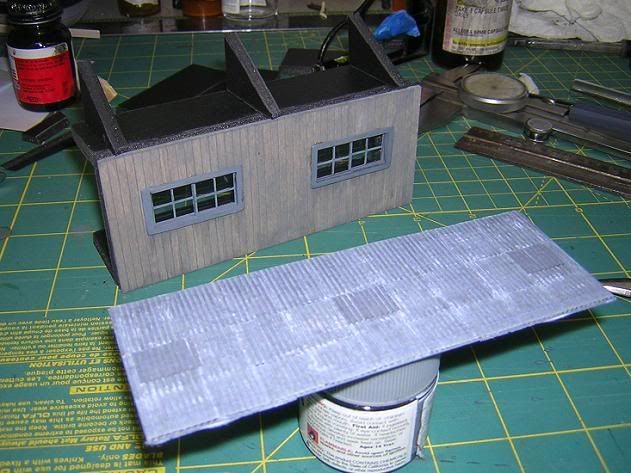
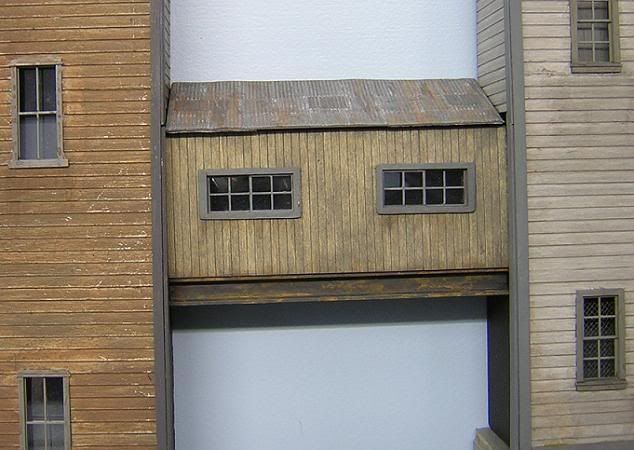
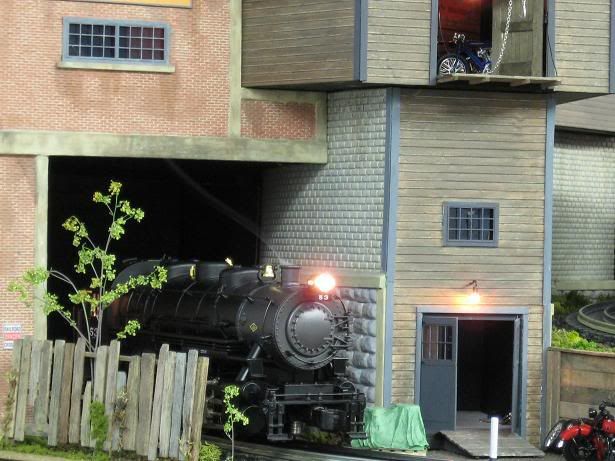
The walkway between the 2 buildings was made again using foamcore with wood planking for the side and the roof was printed out from Model Builder Software
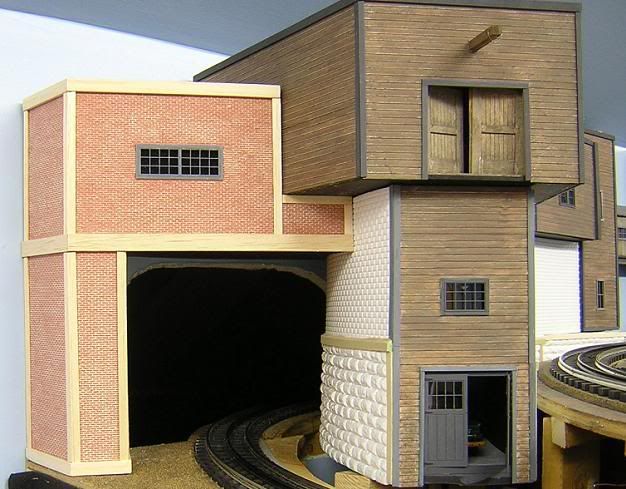
Next was the tunnel entrance which was designed to hide as much of the hole as possible.
Plastistruct brick sheets were used on this.
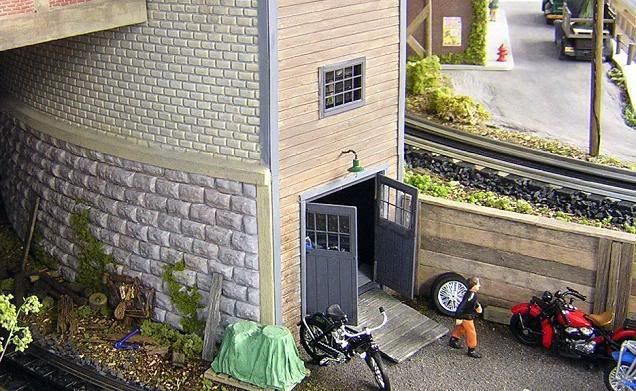
Weathering and detailing are started
I used the roof top entrance to hide the bracket and screw that holds the assembly to the wall.

Finally the whole area has come together as planned
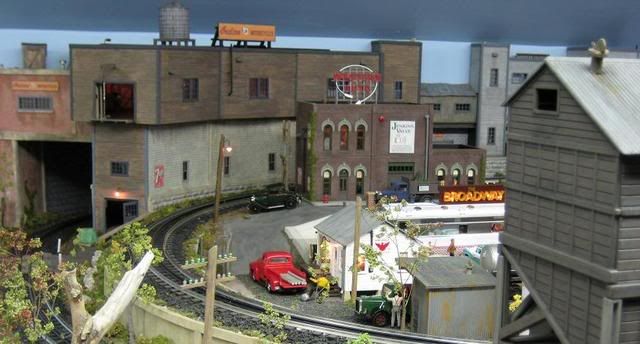
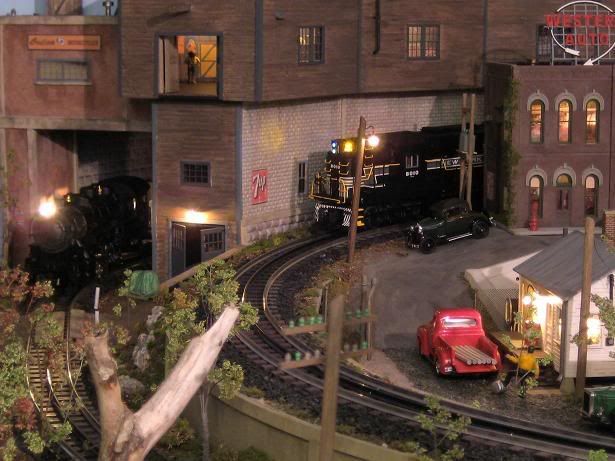
So this is my answer to "what can I put there?"


